
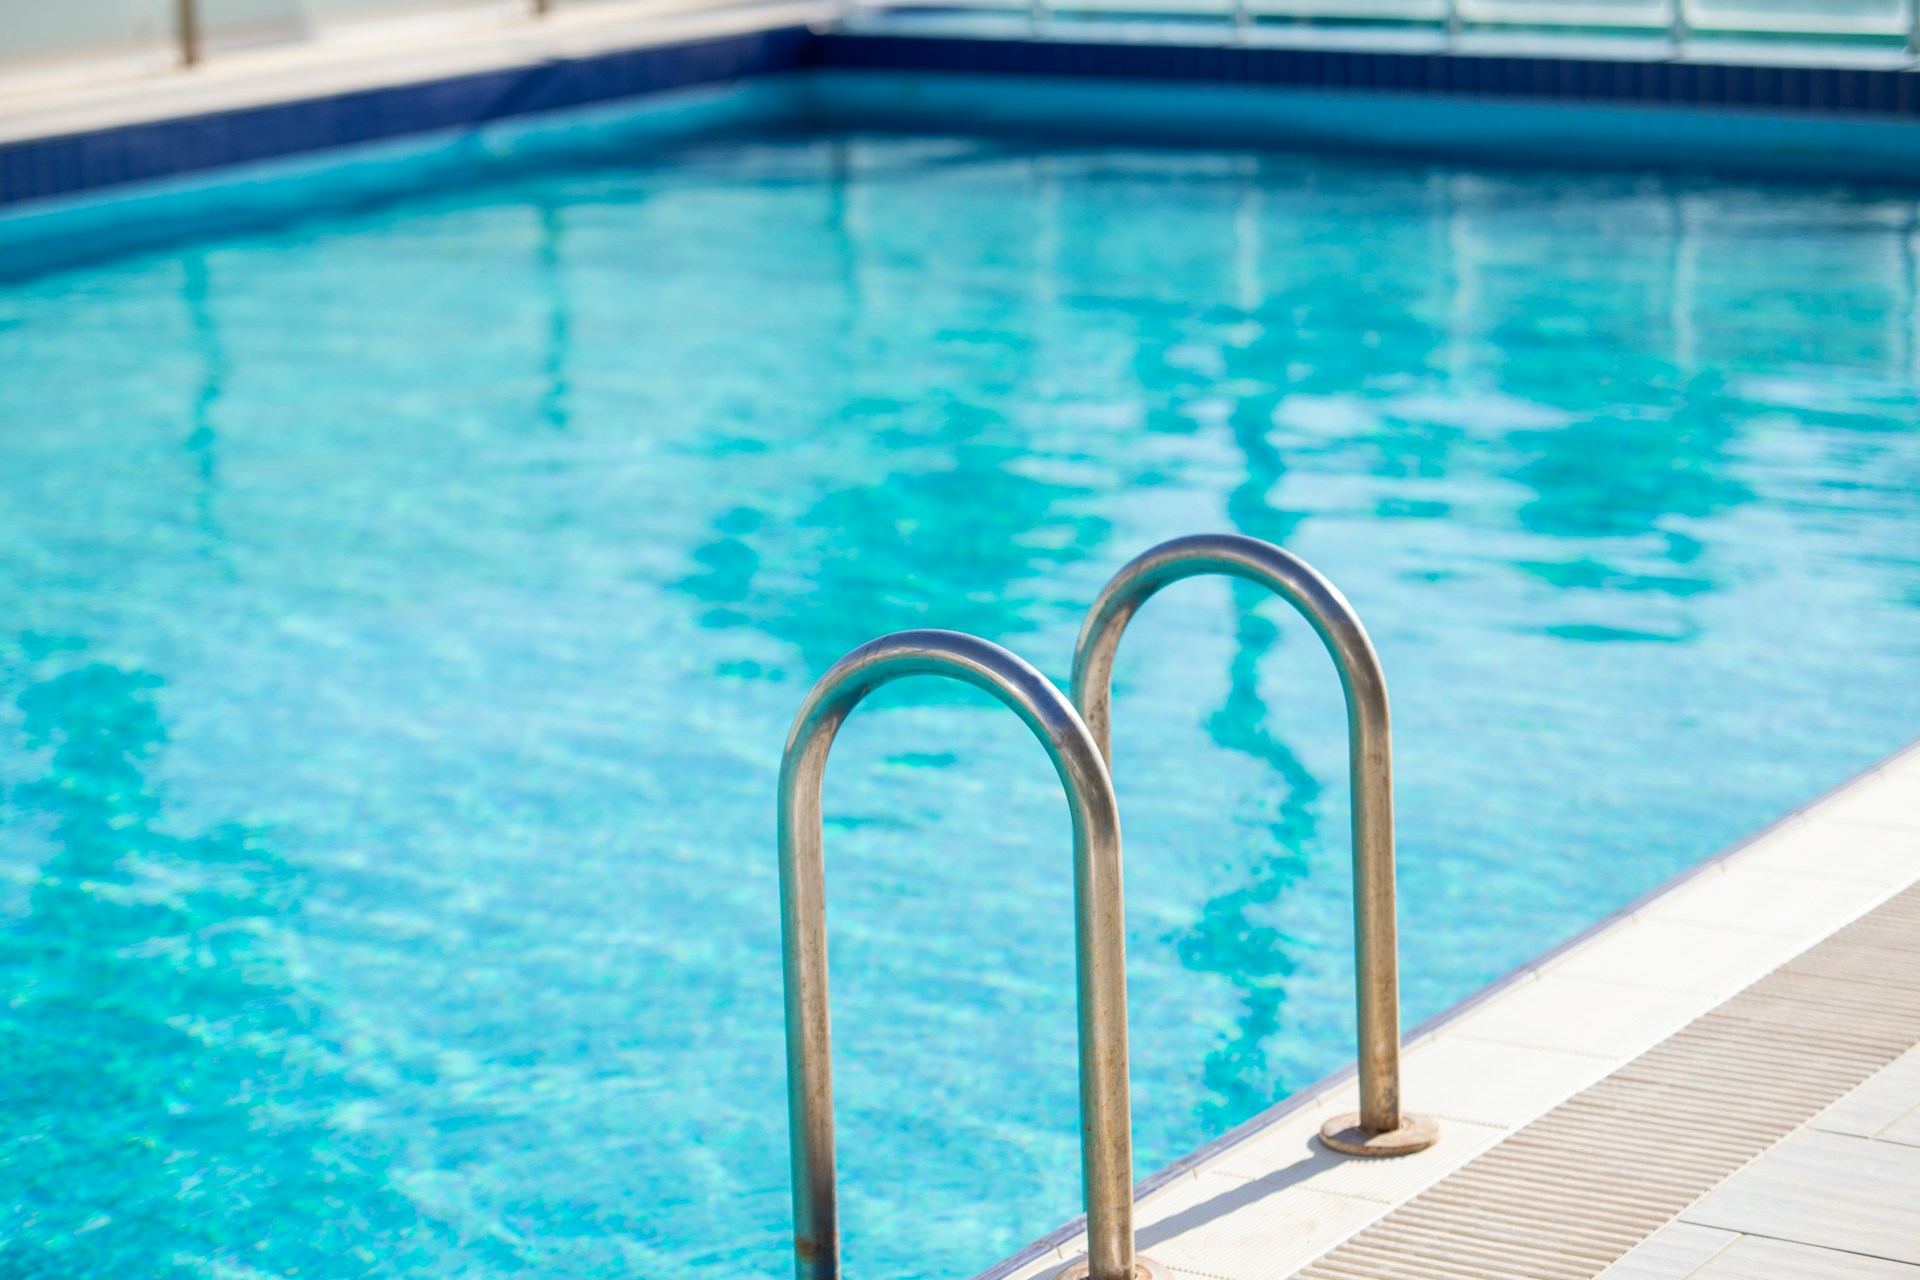
If you have noticed your pool surface feels rough underfoot or the color has gone chalky, you are already asking how to resurface a pool. Homeowners across Marietta, Roswell, Alpharetta, and Johns Creek deal with the same issue every summer. Georgia's heat, sun exposure, and shifting clay soil wear down plaster faster than most people expect.
Atlanta Leak Pros has spent more than 13 years working on pool shells across the metro area, handling everything from small crack repairs to full resurfacing jobs with an in-house crew. That hands-on experience means knowing which cracks are cosmetic and which signal a bigger structural problem underneath.
In this guide, you'll discover the full pool resurfacing process from diagnosis to curing, plus the materials, costs, and timelines involved. You'll also learn when a job calls for a professional instead of a weekend project, so you can make a confident, informed decision about your pool.
Start With the Right Diagnosis
Every resurfacing job begins by figuring out exactly what is wrong with your pool surface, not just what it looks like on top. A rough patch might be simple wear, or it could signal that the plaster is failing underneath.
Surface Damage That Calls for a New Finish
Chipping, delamination, and chalking are the clearest signs your pool finish has reached the end of its life. Delamination happens when plaster layers separate from the shell, often due to poor bonding during the original install. Chalking gives the water a dull, faded tint and usually means the surface has been exposed to sun and chemicals for over a decade.
Spider cracks are thin, web-like lines that usually stay on the surface and rarely threaten the shell. Structural cracks run deeper, often follow a straight line, and can widen over time if left alone.
Cosmetic Wear vs. Structural Repairs
Rebar stains and calcium deposits are cosmetic but still worth noting during inspection. Rust-colored streaks usually mean water has reached the rebar inside a gunite shell, which needs sealing before applying any new coating.
Algae growth that keeps returning despite normal chemical treatment often points to porous, aging plaster rather than a water balance problem. In these cases, pool restoration usually solves recurring algae issues for good, since fresh plaster is far less porous than pitted, aging material.
How Pool Type Changes the Work
Gunite pools, fiberglass pools, and vinyl liner pools each age differently and need different fixes:
- Gunite pools: Plaster wears down every 10 to 20 years and can be resurfaced with new plaster, pebble, or tile.
- Fiberglass pools: The gelcoat can blister or chalk, but you can't reapply factory gelcoat; owners use epoxy or polymer coatings instead.
- Vinyl liner pools: These never need resurfacing in the traditional sense; owners replace liners every 5 to 9 years instead.
Once you know what type of damage you are dealing with, the next step is getting the pool ready for repair.
Drain, Inspect, and Prepare the Shell
Draining a pool is not as simple as opening a valve and walking away. It exposes the shell to real physical stress and requires careful handling from the first hour.
Protecting the Pool During Draining
A submersible pump removes water safely at a controlled rate, giving you time to watch for problems as the level drops. This step matters because hydrostatic pressure builds up under the shell once the pool is empty.
Without a working hydrostatic relief valve, that pressure can cause hydrostatic uplift, literally pushing a gunite shell out of the ground. Pool equipment like relief valves and pumps needs to stay active throughout the entire draining and resurfacing window, not just at the start.
Cleaning and Removing Failed Material
Once the pool is empty, crews remove all loose or failing material before any new coating touches the shell. This step decides whether the new surface bonds properly or fails again within a few years.
Pressure washing clears loose debris, while acid washing with diluted muriatic acid strips mineral buildup and light staining. Deeper problems require chipping or sandblasting to fully remove old, degraded plaster down to a stable surface.
- Pressure washing: removes surface dirt and algae
- Acid washing: dissolves calcium deposits and light staining
- Chipping or sandblasting: strips failed plaster completely
- Plaster dust removal: clears debris before crack repair begins
Repairing Cracks and Creating a Bonding Surface
Structural cracks get filled with hydraulic cement, which expands slightly as it cures and seals tightly against water intrusion. Every seam between old and new material needs a bonding agent, or the new plaster will crack away from the old surface within months.
Some contractors also apply an epoxy primer over the prepped shell for extra adhesion, especially on older gunite pools. Protective gear, including respirators and eye protection, is required during chipping and acid washing because both processes release fine dust and fumes. The CDC recommends the same category of protective equipment, such as masks, gloves, and goggles, any time pool chemicals are being handled.
With the shell clean, repaired, and ready to bond, the next decision is choosing the finish that will last for years to come.
Select a Finish That Fits Your Pool and Budget
The finish you choose determines how your pool looks and feels, and how often you will be back here to do it again. Pool resurfacing materials range widely in price, texture, and expected lifespan.
Traditional Plaster and Modern Aggregate Options
Traditional plaster remains the most affordable choice, running around $4 to $6 per square foot installed. It typically lasts 7 to 10 years before it needs attention again, and less if you don't closely maintain water chemistry.
Pebble finishes mix plaster with pebble aggregate and sometimes silica sand for texture and durability. These finishes cost more upfront, often $7 to $12 per square foot, but commonly last 15 to 20 years with proper care.
Paint, Tile, and Coating Considerations
Pool paint is the cheapest option, with acrylic paint costing around $50 per gallon and lasting only 2 to 3 years. Epoxy paint costs closer to $100 per gallon but holds up 7 to 10 years if applied over sound plaster.
Tile offers the longest lifespan, often 20 years or more, but costs climb fast. Ceramic tile starts around $4 per square foot for materials alone, while glass or stone tile can run $50 per square foot or higher before installation.
Durability, Texture, and Long-Term Maintenance
Here is a quick comparison to help you weigh pool resurfacing costs against expected lifespan:
- Plaster: $4-$6/sq. ft., lasts 7-10 years, smooth texture
- Pebble aggregate: $7-$12/sq. ft., lasts 15-20 years, textured feel
- Epoxy paint: ~$100/gallon, lasts 7-10 years, budget touch-up option
- Tile: $4-$50+/sq. ft., lasts 20+ years, premium look and price
Homeowners in Alpharetta and Johns Creek often choose pebble finishes for pools that see heavy summer use, since the texture resists staining better than plain plaster. Once you settle on a material, the focus shifts to applying it correctly.
Apply, Cure, and Refill the New Surface
Getting the finish onto the shell correctly matters as much as material choice. Rushed application is one of the most common reasons resurfacing jobs fail early.
How Professionals Install Plaster and Pebble Finishes
Gunite pool resurfacing crews mix plaster or pebble aggregate on-site and apply it with a spray gun for even coverage. They spray the mixture onto the prepared, damp shell, then hand-trowel it to create a smooth or textured finish, depending on the material.
Professional pool resurfacing teams usually finish an average residential pool shell in one to two days once prep work is complete. Weather also plays a role; humidity and temperature affect how fast the plaster sets during application.
Why Timing and Application Method Matter
Applying plaster too thin leads to premature cracking, while uneven troweling creates rough patches that trap algae. An experienced pool resurfacing contractor knows how to keep the mix consistent across the entire shell in one continuous application.
This is why most homeowners hire out this stage even if they handled some of the prep work themselves. A shell that sits partially plastered overnight rarely bonds evenly once work resumes the next day.
Startup Care During the First Weeks
Refilling starts within 24 to 48 hours of the final trowel pass, using a garden hose set to run continuously until full. Water chemistry needs daily attention during the first two weeks; watch calcium hardness, total alkalinity, and pH closely.
New plaster is soft and vulnerable early on, so brushing the surface daily helps prevent blotching and uneven curing. Getting the water chemistry right from day one protects your investment and helps the new surface reach its full expected lifespan.
Know When to Hire a Resurfacing Professional
Some prep work is manageable on your own, but full resurfacing is not a realistic DIY project for most homeowners. Getting this wrong costs far more to fix than hiring a professional the first time.
Why DIY Work Often Fails Before Its Time
DIY pool resurfacing attempts usually run into trouble at the bonding stage, where timing and mixing ratios matter down to the minute. A rushed bond coat or an inconsistent plaster mix often cracks within the first year.
Pressure testing plumbing lines before resurfacing also requires equipment most homeowners do not own or know how to read correctly. Missing a hidden plumbing leak before resurfacing can mean draining and redoing the job within months.
What a Thorough On-Site Scope Should Include
A proper pool resurfacing contractor visit should cover more than a quick look at the water:
- Full visual inspection of the shell, tile line, and fittings
- Pressure testing on suction and return lines
- Written scope covering crack repair, prep method, and material choice
- A clear, itemized pool resurfacing cost estimate before work begins
Frequently Asked Questions
What Are the Steps to Resurface an Inground Pool?
The process starts with draining and inspecting the shell, then removing old plaster through chipping, acid washing, or sandblasting. Repair cracks with hydraulic cement, apply a bonding agent, and spray and trowel on new plaster or a pebble finish before refilling.
Can You Resurface a Concrete Pool Yourself, or Should You Hire a Contractor?
Prep work like cleaning is sometimes manageable on your own, but full resurfacing needs precise mixing, timing, and bonding that most homeowners cannot replicate. A pool resurfacing contractor also has the equipment to pressure-test plumbing before the job starts.
How Much Does It Cost to Resurface a Pool in the Atlanta Area?
Costs typically range from $6,000 to $15,000 depending on pool size, material choice, and how much crack repair is needed. An on-site estimate is the only way to get a number specific to your pool's condition.
What Is the Difference Between Pool Resurfacing and Replastering?
Replastering refers specifically to applying a new plaster coat over an existing gunite shell. Pool resurfacing is a broader term that can include plaster, pebble, tile, or paint, depending on what the pool needs.
Which Pool Resurfacing Material Is Best for Your Pool?
Plaster works well for budget-conscious homeowners who don't mind resurfacing again in 7 to 10 years. Pebble finishes cost more upfront but last longer and handle heavy pool use better, which suits busy households in Roswell or Johns Creek.
What Time of Year Is Best for Pool Resurfacing in Georgia?
Late fall through early spring works best, since the pool sits empty during a low-use season anyway. Scheduling resurfacing before summer means your pool is ready to swim in as soon as the weather turns warm.
Get Your Pool Back to Full Strength
Knowing how to resurface a pool gives you a clear picture of what your pool needs, whether that's a simple plaster refresh or a full shell repair. The steps stay the same for pools in Marietta, Roswell, Alpharetta, and Johns Creek: diagnose, drain, prep, finish, and cure with care.
If you are staring at a chalky surface or a crack that keeps growing, waiting rarely makes the job cheaper. Your pool deserves a straight answer. Schedule your inspection and know exactly what you are dealing with.
Ready to stop guessing and start fixing? Get your free estimate from Atlanta Leak Pros and get it done right.
Free estimates on leak detection and repair across metro Atlanta. Mention the promotion for $25 off leak repairs.